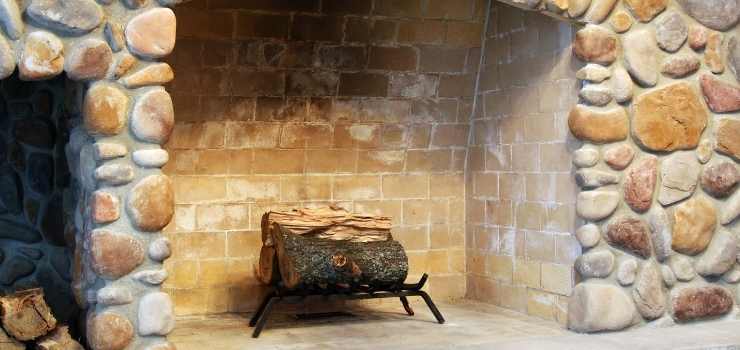
Stone veneer is a great way to update the look of your fireplace. It will last for years and can be installed by experienced person who has knowledge of masonry work. The Stone Veneer Installation Guide will walk you through step-by-step how to install stone veneer on your fireplace. We go over the different types of materials, tools and equipment that are needed for this project.
Is it difficult process?
The process of installing stone veneer on a fireplace is not difficult, but it does take time. The best thing to do is plan ahead and make sure you have enough materials before getting started. Make sure the area in which you are working is well-ventilated, as this will create lots of dust particles that can be harmful if they are inhaled or come in contact with your skin.
Achieving an elegant look for your home’s fireplace doesn’t have to be hard! Follow these steps to install stone veneer on your fireplace
Covering Brick Fireplace
Are you looking to cover up that unsightly brick fireplace facade using masonry veneer? A masonry veneer is essentially just a thin layer of stone or other material applied over an existing wall surface but not structurally connected to it in any way. You may need additional information about stone veneer fireplace requirements and other added benefits at atlantic site. They’re tremendously versatile from purely aesthetic applications (such as covering fireplaces), to structural support (such as hanging a new exterior wall or support column), to protection from water or heat damage, and more.
Installation Method
The exact method of installation is going to depend on what you’re starting with and the type of stones being affixed, but in general it would involve cleaning up all loose mortar from where the existing stone meets down into the brick. You’ll then apply a few coats of masonry adhesive over that cleaned area using a trowel so it’s applied nice and thick – roughly around 1/4 inch thick should be good. The adhesive helps create a stronger bond between the old stone facade and new veneer, as well as filling in any gaps between the two for added strength.
After allowing the adhesive to dry per manufacturer instructions, you’ll need to set the stones into place. Again, this will depend on what type of stones are being used but usually involves applying some adhesive to the back side of each stone and pressing it firmly into place so it sticks. You may also have to drill tiny holes in the masonry adhesive at regular intervals over the installation area for added strength before setting any stones so be sure not to skip this step if necessary!
Once all your stones are secured, you’ll want to go over them one last time with a trowel or putty knife that has been dipped in clean water so it’s nice and wet. This helps squeeze out any remaining air underneath each stone which would otherwise create tiny pockets where moisture could build up causing structural damage or staining. You can then leave everything to dry, partially applying some mortar over the installation area beforehand so it’s not just drying out in open air and cracking within a day or two of installation. After that, you’re free to caulk around the stones for added protection if desired before painting them to your liking and sealing them with a high quality masonry sealer.
After all is said and done we hope this has provided you with enough information on what’s involved and how these stone veneers are typically installed so you can get started on this project! Good luck and please let us know if there’s anything else we can help with.


